Excellent photography is one of the key ingredients in a show-stopping, stand-out-from-the-crowd kind of website. Your brand imagery is one of the few things that your designer doesn’t have any control over. It’s up to you to provide them with images that will elevate the overall look and feel of your site.
Here are our top tips for planning a brand photoshoot that will produce website-worthy images.
What to wear at your photoshoot
What you choose to wear is one of the most important elements in your images. Choose thoughtfully, not quickly. Try things on, buy new items and take your time curating several contrasting outfits for your photoshoot.
Dos and don’t for selecting your wardrobe.
- Every single thing you wear should be on-brand. This doesn’t just mean wearing your brand colours, but considering the feel, personality and aesthetics of your brand and how your outfits can reflect those ideas.
- Use patterns very sparingly or avoid them altogether. If you really want to wear a pattern, choose something with a larger print rather than a “ditzy”, detailed design.
- Avoid anything that shows a brand name or a word (unless it’s perfectly suited to the message of your own brand!).
- Make sure everything is well-fitting and neatly ironed.
- If possible, wear high-quality fabrics like linen and silk because these look beautiful on camera.
- Consider accessories! A cute hat, a belt, a hair bow or jewellery adds a lovely bit of visual interest and personality to your images.
- Try to have at least 3-4 outfit changes.
- Change your hairstyle at least once during your shoot so that it’s less obvious the photos were all taken on the same day.
- Try to wear outfits that reflect your true style and personality. Trying to look too fashionable or (god forbid!) too “professional” will only make you feel awkward and you won’t be fooling anyone! Show up as your authentic self, just a slightly shinier, more refined version!
- Consider the aesthetics and feel you want your website to exude. If you want an airy, flowy, gentle feel on your site, tight blue jeans won’t be a great choice, but a maxi skirt will be!
- Don’t wear black unless it is in your colour palette. Black is not a neutral when it comes to branding! Try your best to only wear clothes that match very closely to your brand’s colour palette.
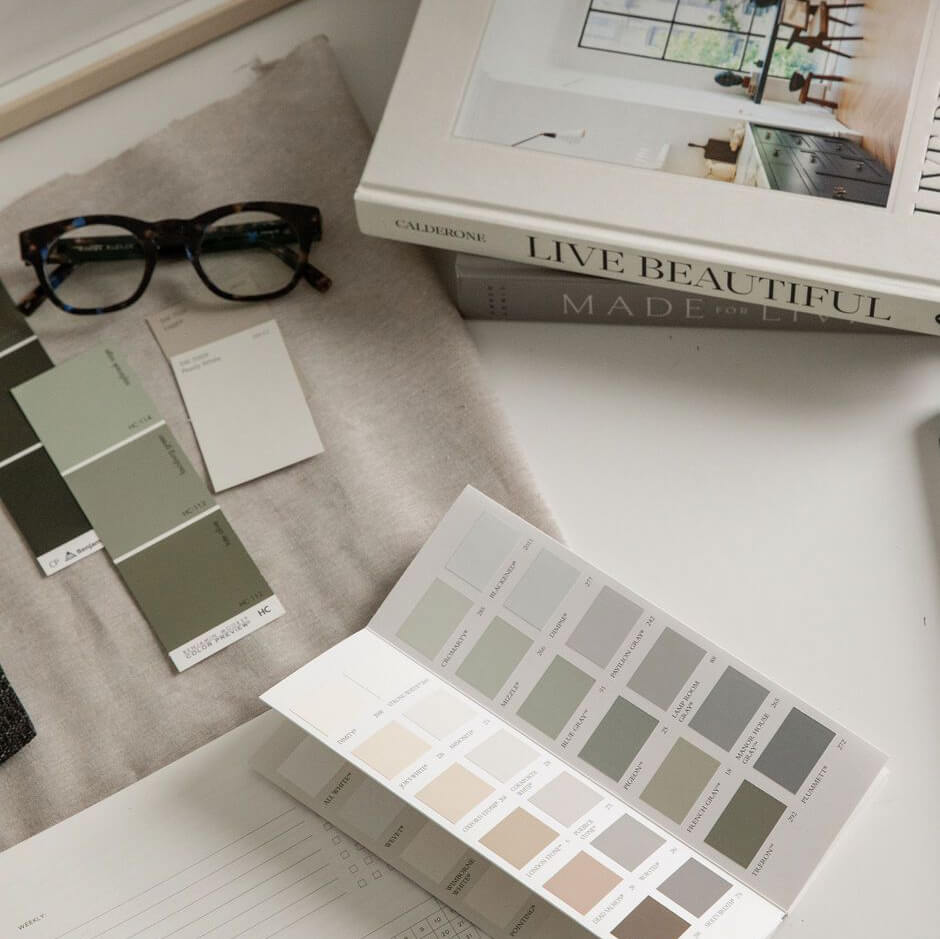
Don’t have your brand colour palette yet?
If you don’t know any of your brand colours yet, neutrals will be your friend! Try to wear lots of white and cream. Even if your palette doesn’t include white, the brightness can be toned down in editing.
If you know one or two of your brand colours, feel free to wear clothes that match them even if you’re not 100% sure of the shade yet. Colours can be tweaked slightly in editing.
For example, if you know you really want pink to be one of your main colours, go ahead and wear something pink. However, try to choose a pink that is not too bold or too pale. Aim for something in between so that it can be more easily matched in editing.
Remember, your website is not static, but a living space that will evolve over time. It is fine to start with more neutral, basic, “vanilla” images that won’t clash with the rest of your site, and then update them in the future with more “branded” photos.
Props & decor ideas for a branding photoshoot
Props and decor can add lots of interest to your photos and provide a lot more posing opportunities. Consider the things you use or are surrounded by in your real work life. Here are a few prop and decor ideas.
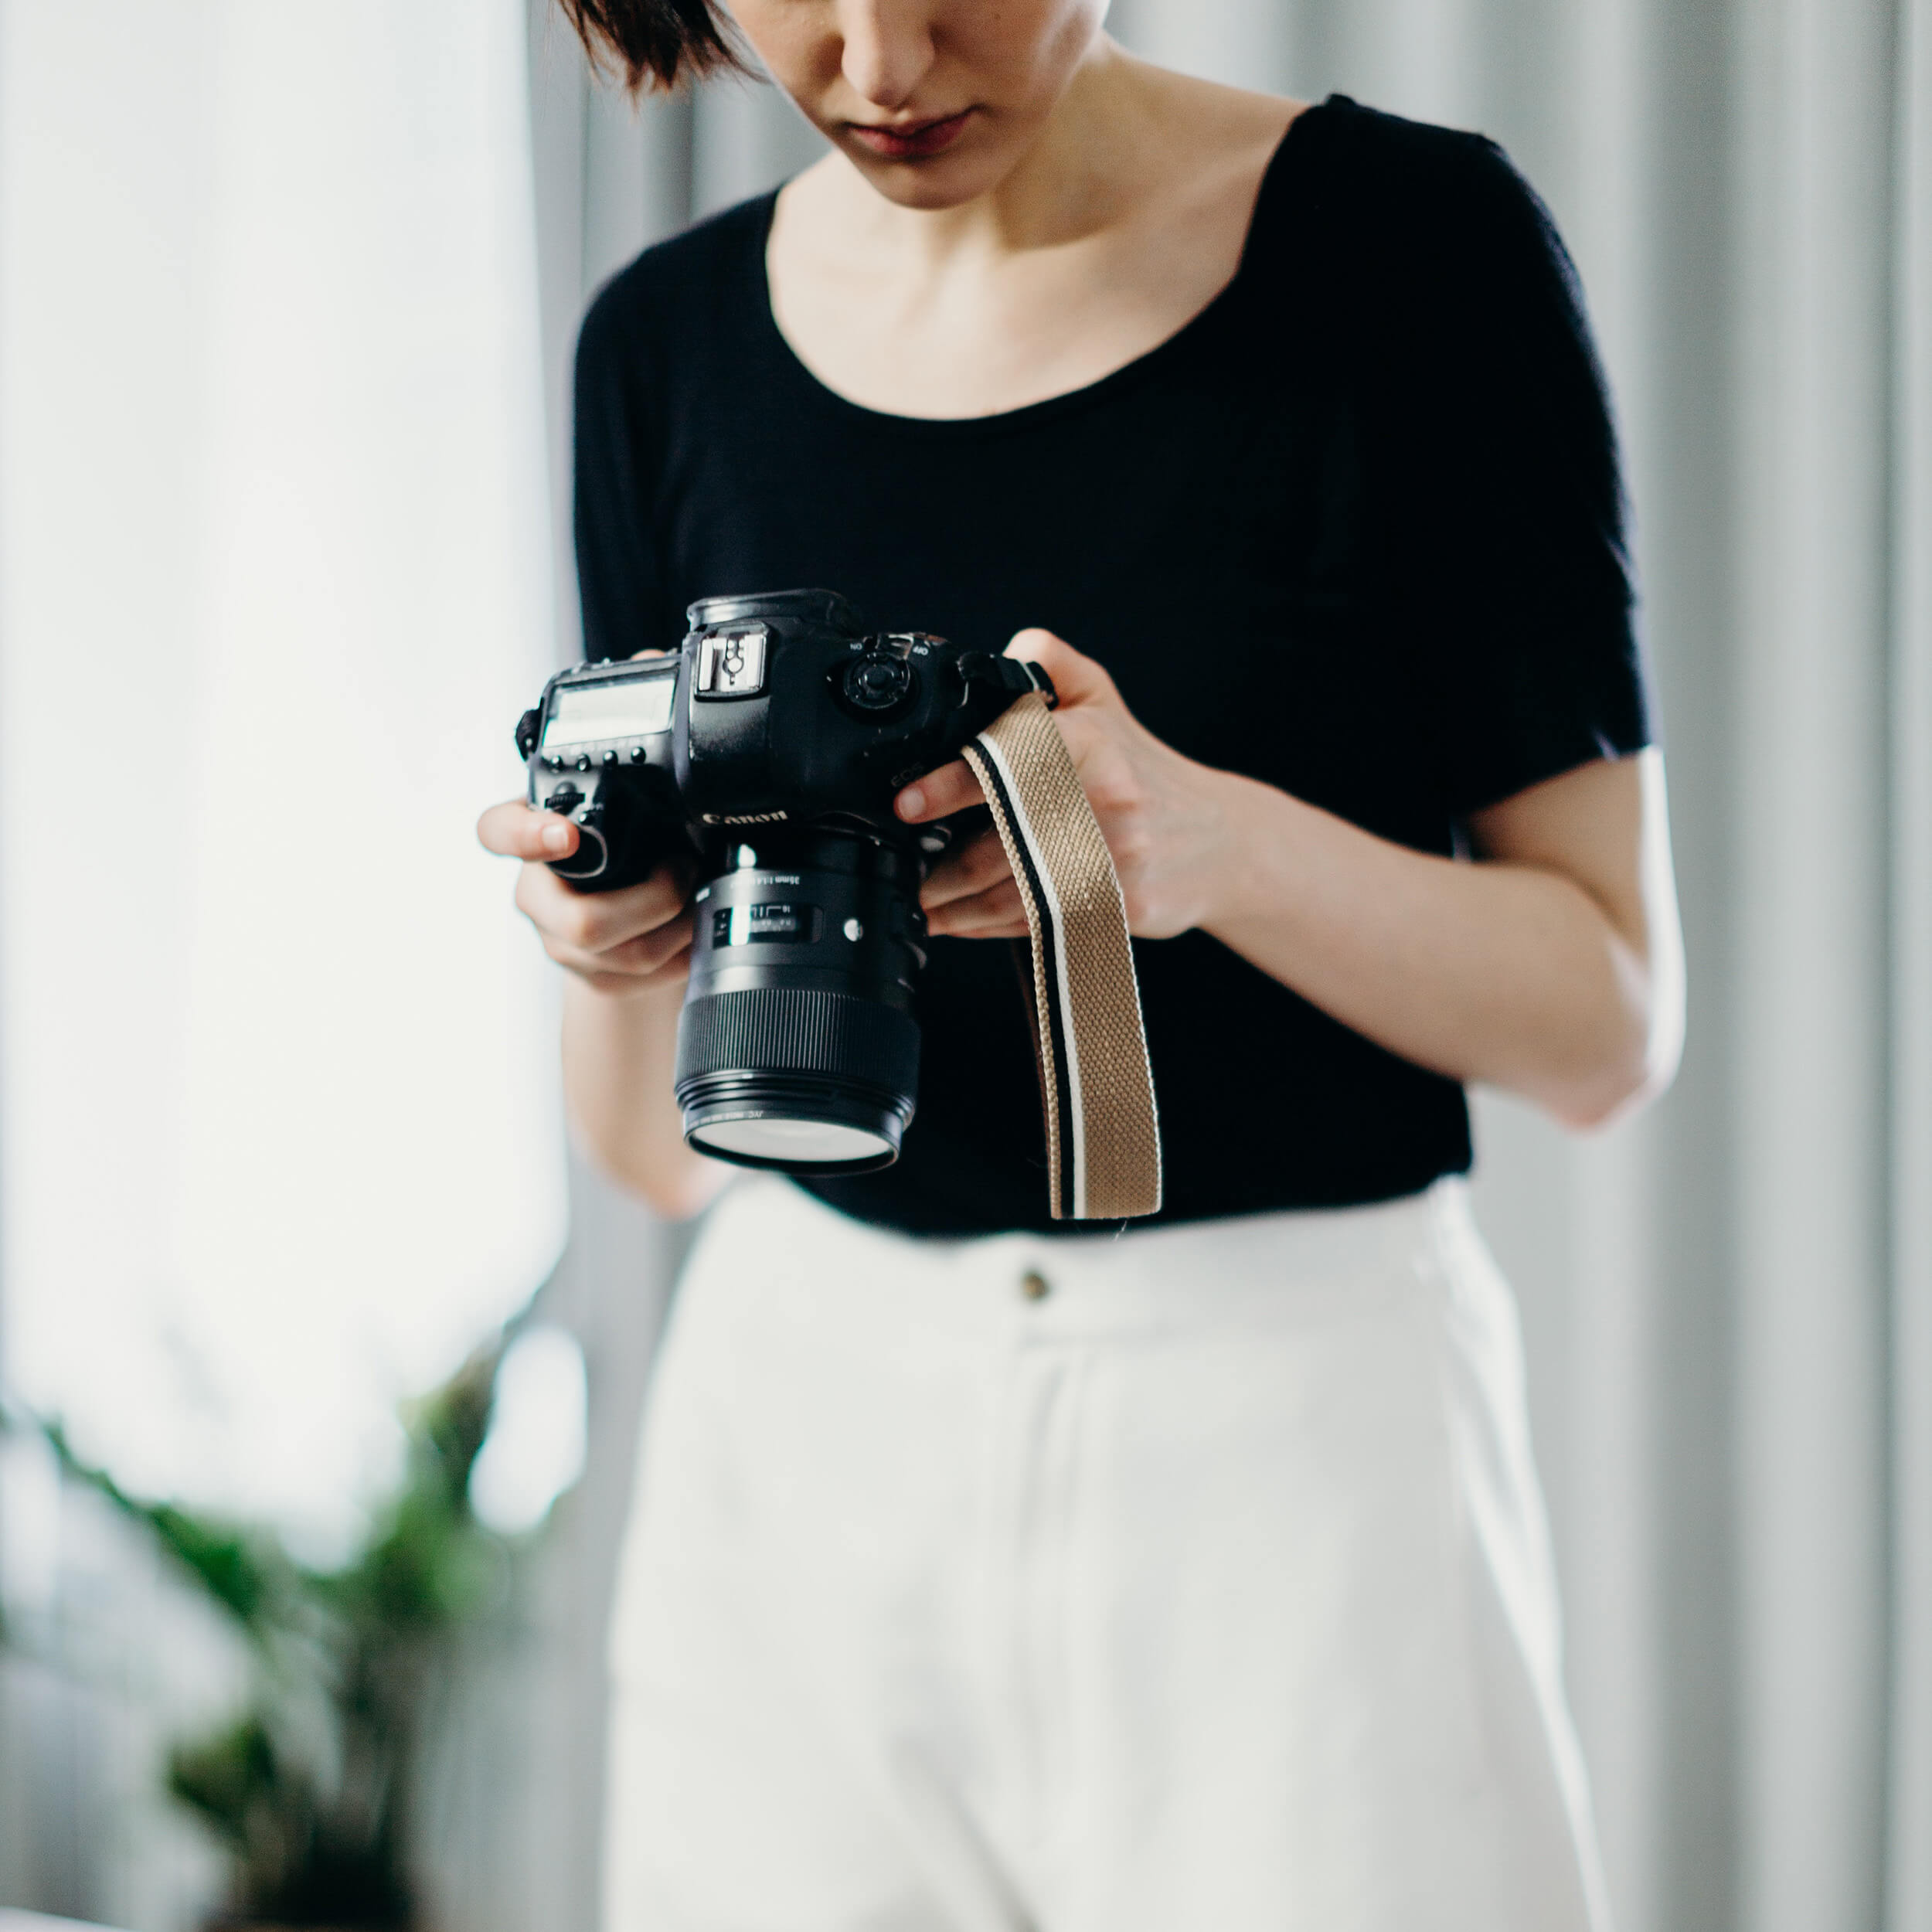
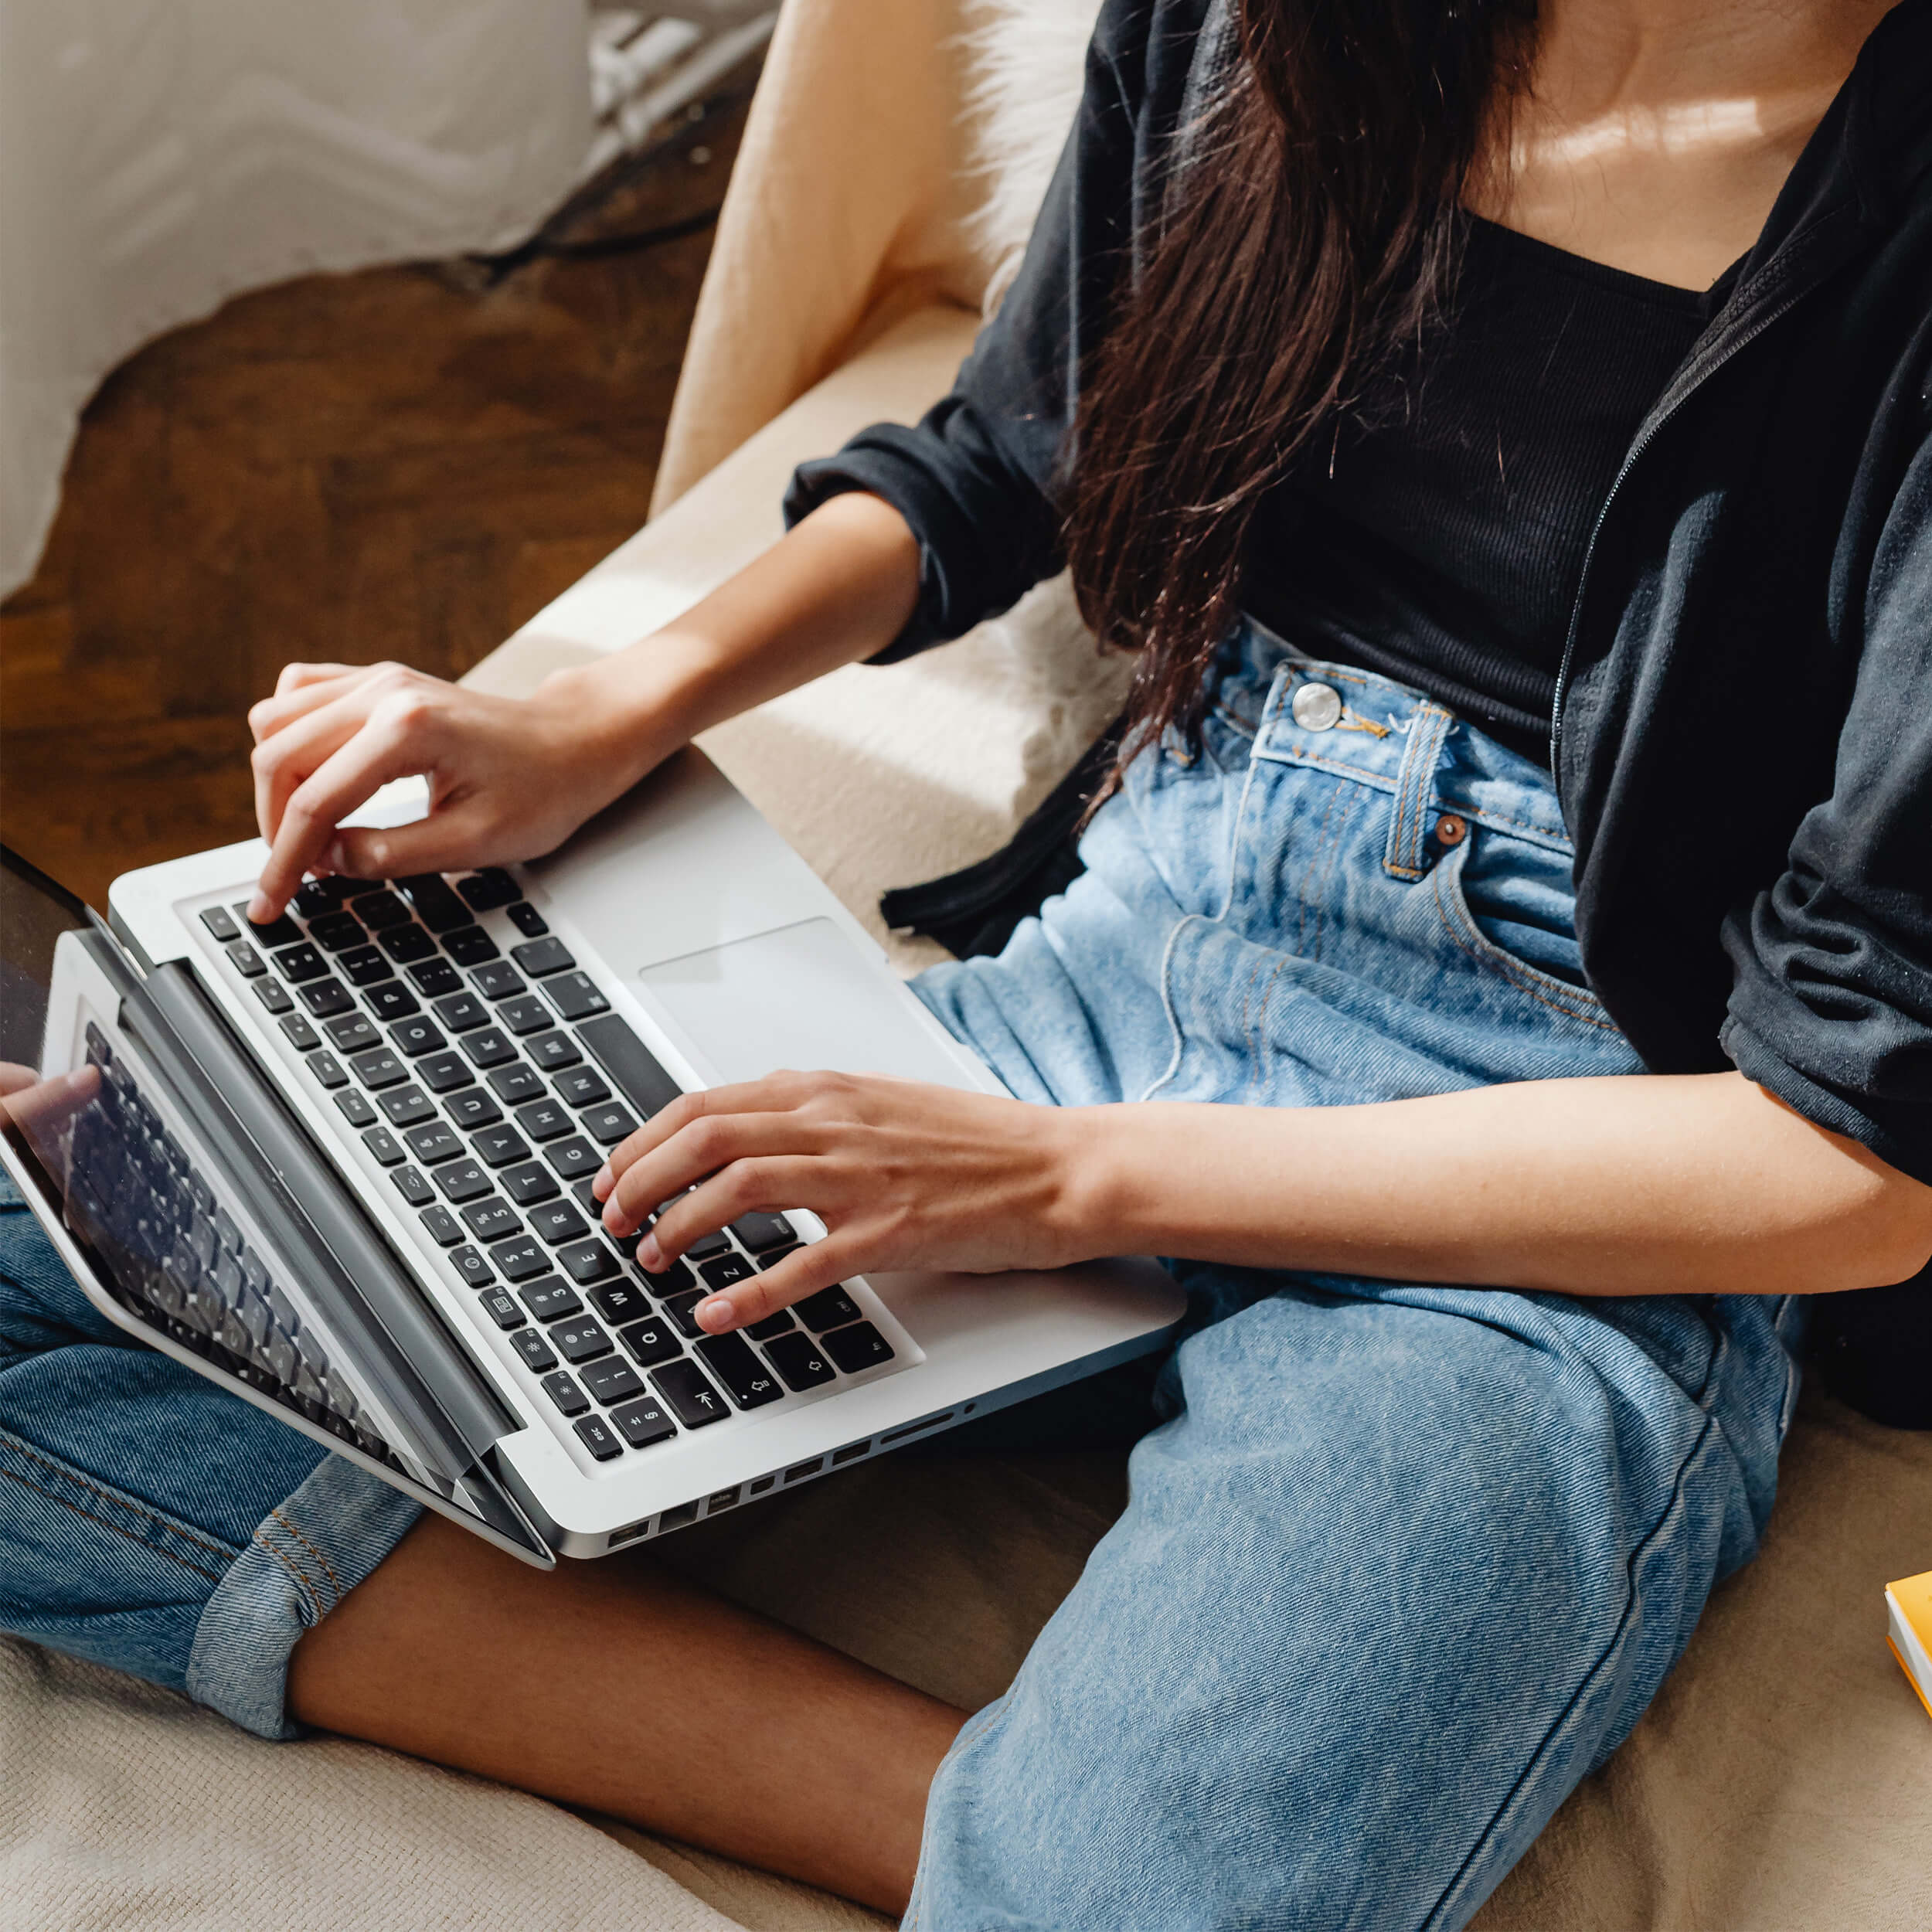
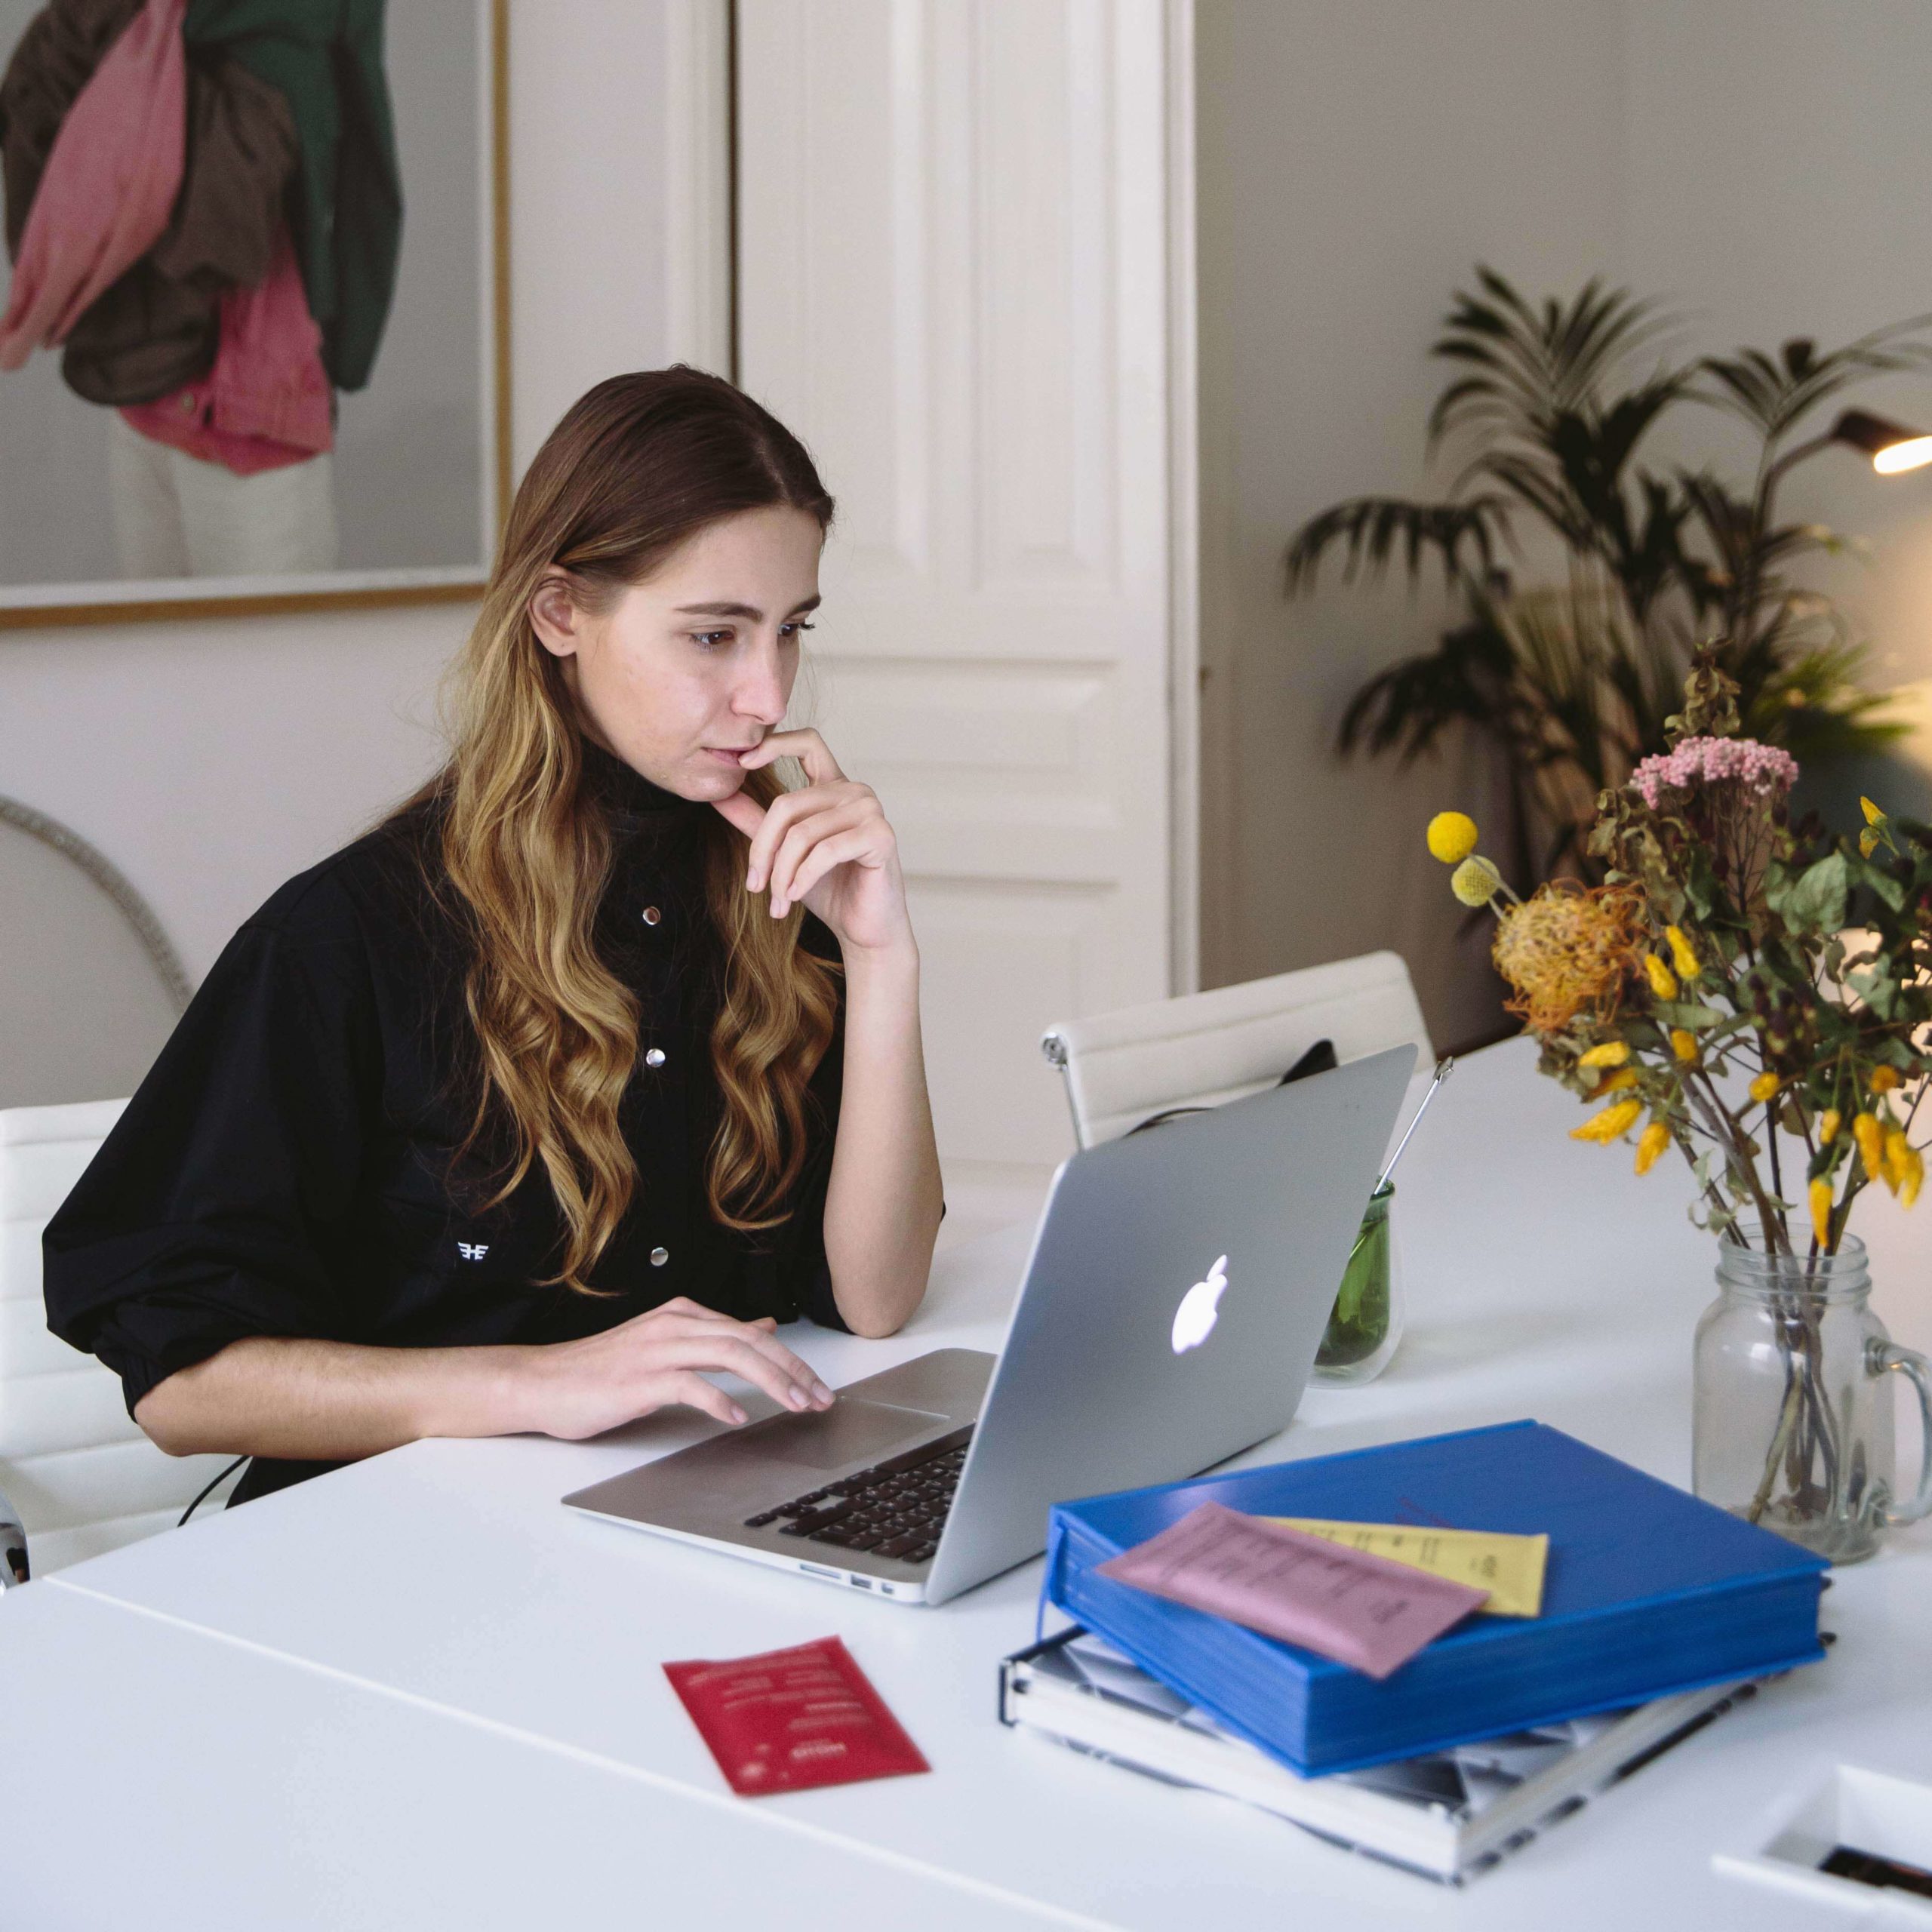
- The obvious: laptop, iPad, phone, coffee cup. Sometimes a cliche is OK.
- Pets! Including your dog, cat or other furry friend adds so much personality
- Wine and wine glasses
- A book or magazine, or a stack of these!
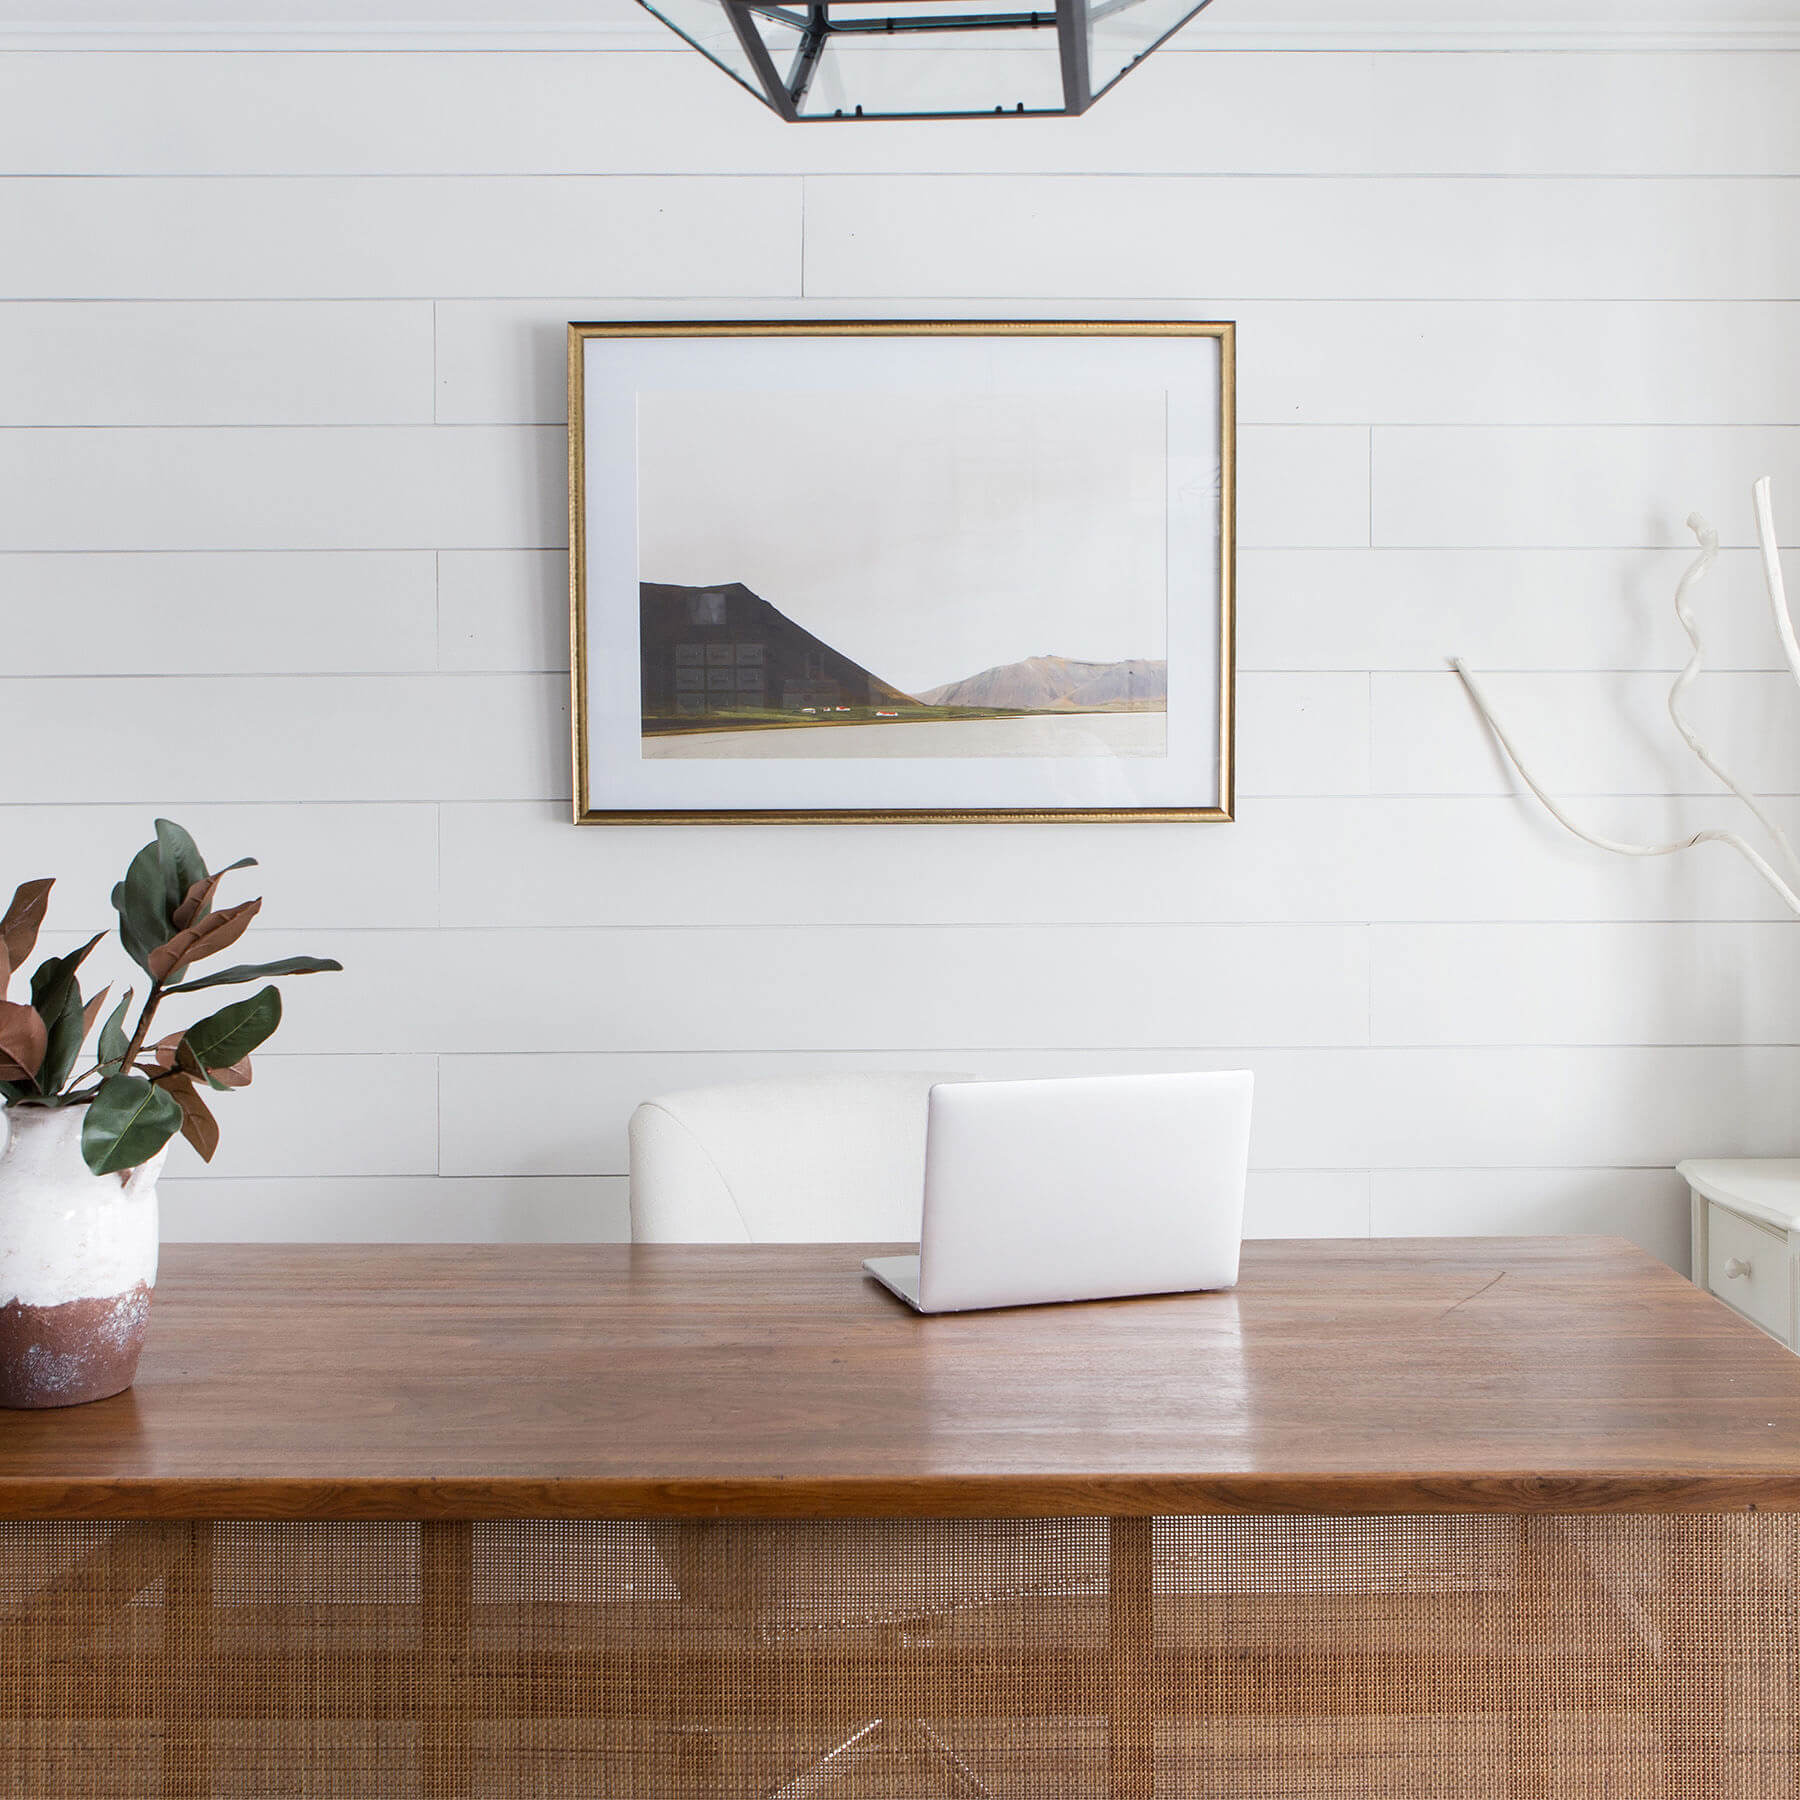
- Fresh flowers in a cute vase (try to choose on-brand colours!)
- Plants! Especially if your palette includes any kind of green
- Pens & notebook
- Wall art, wall hangings, tapestries, macrame, hanging plants
- Picnic blanket or rug
- A rack of clothing
- Jewellery, candles, incense
- Couches, throws and cushions (on-brand colours or neutrals with boatloads of texture)
- A hat (while this is in “what to wear”, it can also be used as a prop)
- Desk, stationery, corkboard, lamp
If you use anything particularly aesthetic in your work or you do anything with your hands, show your tools/equipment/supplies e.g. paint & brushes, camera etc.
TIP: Remember, not every image should have you in it! Flatlays, scenery shots, blank spaces and textures are super useful when designing a website.
Tips for posing at a branding photoshoot
The best way to know exactly how you want to post is to prepare a shot list. Start creating a secret Pinterest board or an album in your phone a month or so before your shoot. Check out our Pexels collection for inspiration!
Every time you see an image where the person is posing in an interesting or appealing way, save it! Eventually, you’ll have a “full shot” list. You can send it to your photographer and refer to it on the day of the shoot.
Images where you feel like yourself are the ones that will look the best and draw your ideal clients in. People like people who are confident in themselves. That means you should be having FUN! Unfortunately, if you feel awkward during your shoot, that will be glaringly obvious in your images. Do anything you can to feel less awkward and more like yourself. Here are some ideas for helping you to feel more comfortable in front of the camera:
- Ask a friend to come with you! Having someone there who brings out your more authentic self is absolute gold. And you get to treat her to a cute coffee date afterwards.
- Be a goofball! Have fun with it! Don’t take it all so seriously, but just be yourself. Mess around, be silly.
- Tell a funny story to your photographer or ask them to tell you one!
- If possible, put on some music! When the mood is upbeat and casual, you’ll start to feel more like that.
- It’s ok not to smile, especially if joy and positivity aren’t a central feature of your brand. You can simply look out a window, or down at a notebook without a big grin on your face!
- Remember that it’s OK if there are lots and lots of photos that aren’t right! It’s totally fine to take 35 photos of you goofing around if you get just one with a genuine laugh at the perfect angle. Don’t put pressure on yourself for every image to be “the one”!
- Try not to be too “pose-y” all the time. Sit how you sit in real life (even if that’s feet up on the chair!).
- If you need a break, but have limited time with your photographer, take some “walking away”, “looking away”, “over-the-shoulder” photos or photos of your hands holding/doing something. This will allow you to relax for a bit because your face won’t be in the shot.
- Choose locations where you won’t have an audience. Not many people can pose and act naturally when there’s a chance strangers might be watching. Hire an Airbnb, use yours or a friend’s house, or find a deserted street or park.
Branding photoshoot tips for photographers
Whether you’re an old hand behind the camera or new to the game, taking images specifically for a website can be challenging! As a website designer, I’ve spent a lot of time struggling to use images taken by even super talented photographers. Here are a few tips for getting photos that will work perfectly on a website.
- If your client has completed a brand strategy process or has any other documentation about “who” their business is, ask to read it! This kind of document will provide you with a ton of essential information about the aesthetic and personality they are aiming for.
- Take LOTS of horizontal images. So many, in fact, that the ratio could be as much as 90% horizontal vs. 10% vertical. Horizontal photos are the most useful to a website designer because they can be used as full-bleed (edge-to-edge) images or they can be more easily cropped to suit the desired dimensions.
- A website designer’s dream image is a horizontal one that includes lots of blank space to the left or right of the subject because we can place buttons, headings and text over the top of the blank area.
- “Blank space” in an image doesn’t have to actually be blank. It can be anything that doesn’t have to be seen but can be “poking out”, e.g. a graffitied wall, a rug/carpet, a city skyline in the background, and so on.
- Website images shouldn’t be too visually confusing. They should be reasonably simple and try to tell a story. Pose your client in a way that shows people who she is (goofy, stylish, gentle, “laugh-y”, etc.) and show us what she actually does with her time.
- Avoid veering into the cheesy stock image realm as much as possible. Though we don’t want the images to be too visually busy, they should contain lots of uniqueness and personality.
- Encourage your client to sit, act, walk and behave how she does in everyday life. The more comfortable your client is, the more she’ll act like herself, and the more likely you are to get genuine, candid shots that let her true self shine through!
- Fake laughs usually lead to real laughs! The prompt, “give me your best fake laugh” is absolutely genius, because you’ll end up laughing with your client who will then feel genuinely amused.
- Take as many “in-between” photos as possible! The moments when your client thinks you’re just “getting the settings right” are sometimes the moments she is most relaxed and the least awkward. Sneak in real snaps when she’s adjusting her hair, patting her pup, choosing her next outfit, or “waiting” for you!
- Not every single image should include a person. Flatlays, scenery shots and images of hands holding/doing something can be super useful on a website. If you find a really neat location, take photos of the space itself. Even a simple blank wall or interesting (on brand!) a textured rug can be very helpful!
- Have fun with it! Be creative, be quirky, and don’t be afraid to try something a bit different!
Where to next?
Learn how to boost your Showit website SEO with this 10-minute task
If you’re a new business owner and you need a foolproof strategy to name your business, we’ve got a real treat for you!
Ever heard of the One Concept Method? Want to know why we use it to create strategy-led brand design? Read more about it here.
At Hello Magic, we are in love with Showit. We’re all about building beautiful websites that attract your dream customers and the only thing better than a gorgeous online home is a gorgeous online home that converts. To get the best of both worlds, you need to know how to optimise your Showit site for SEO.
Excellent photography is one of the key ingredients in a show-stopping, stand-out-from-the-crowd kind of website. Here are our top tips for planning a brand photoshoot that will produce website-worthy images.
“Should I use Showit or Squarespace for my website?” This is a question we hear from many clients. And no wonder. Figuring out whether you should create a website using Squarespace or Showit is like trying to find a consensus over whether pineapple belongs on pizza or not.

Are you considering investing in professional branding or a rebranding project but unsure if it’s even worth it? It’s a valid concern. After all, there are many factors to take into account when making such an important decision for your business. To help you out, we’ll share with you a few cold, hard stats about the benefits of branding that just might convince you to take the plunge.
Template or custom: which is right for you? In this post, we compare all the differences between a custom Showit design and a Showit premade template to figure out which option is best for you and your business.
At Hello Magic, we are in love with Showit. We’re all about building beautiful websites that attract your dream customers and the only thing better than a gorgeous online home is a gorgeous online home that converts. To get the best of both worlds, you need to know how to optimise your Showit site for SEO.
Are you considering investing in professional branding or a rebranding project but unsure if it’s even worth it? It’s a valid concern. After all, there are many factors to take into account when making such an important decision for your business. To help you out, we’ll share with you a few cold, hard stats about the benefits of branding that just might convince you to take the plunge.